If you talk with different Elmers this step will likely lead to much debate. The next step in the refurbishment process that I follow is completely optional and is an initial power up and rough functional check. The real question is how adventurous are you?
Reasons Not to Perform an Initial Power up
There are many reasons why it maybe a be wise to NOT perform an initial power up and functional check.
Many old radios, HW-100 and HW-101 included, contain electrolytic capacitors that over time dry out and may fail in an electrical short condition. If this failure occurs collateral damage may occur and additional components may need to be repaired. Reforming electrolytic capacitors maybe an option but in my opinion it makes more sense to replace these components in a future step for better overall longevity. Other components like tubes may fail short or electrical resistors maybe way out of tolerance. Given the chassis hasn’t been fully cleaned up yet its difficult to perform a complete inspection for other failures that maybe present such as a frayed wire coming into contact with the metal chassis.
Reasons For Performing an Initial Power up
One of the most motivating reasons for performing an initial power up test is, to quite simply, exercise the radio for quick initial assessment. I will also admit, it can be quite satisfying getting a radio and simply seeing if it “works”.
Performing an Initial Power up
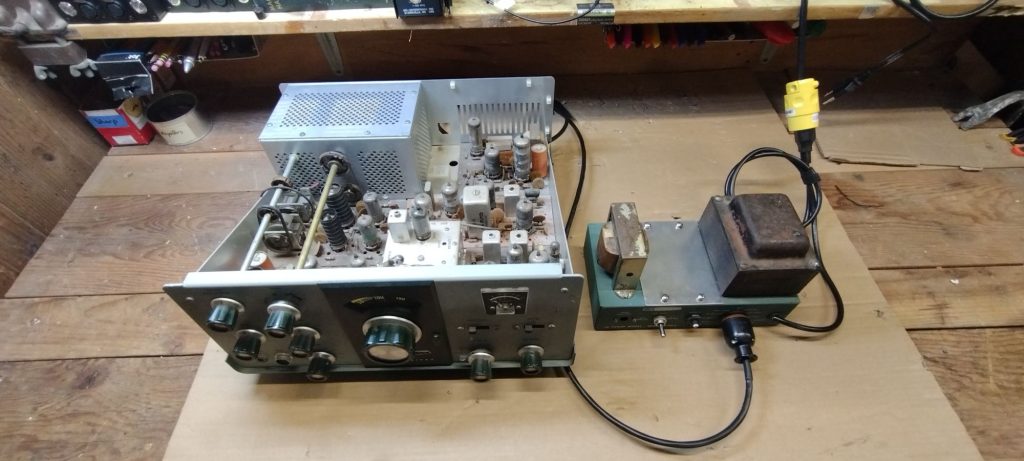
If you choose to perform an initial power up the key is to have the top cover removed and pay attention through out the entire process using all of your senses. If there is a sign of the magic smoke or other problems it is best to be able to quickly cut power completely.
WARNING – The HW-101 and most other tube radios operate at lethal voltages that can kill you. Even after power has been turned off many of the capacitors may maintain a dangerously high voltage over a period of time. Use extreme caution in powering up the radio especially if covers are removed.
One method for performing this initial power up is to utilize a variac and dinbulb tester. A dinbulb tester connects an incandescent light bulb in series with the radio. Power is turned on and the variac is used to slowly increase the voltage going to the radio in a controlled manner. If the radio develops a dead short then the bulb will start to illuminate and you should remove electrical power as soon as possible.
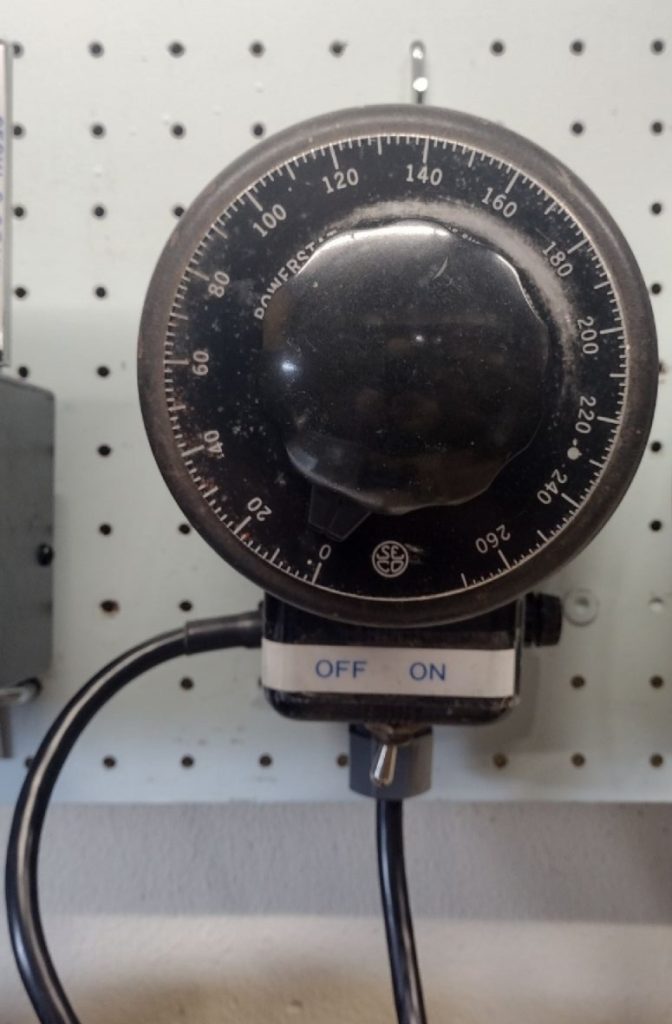
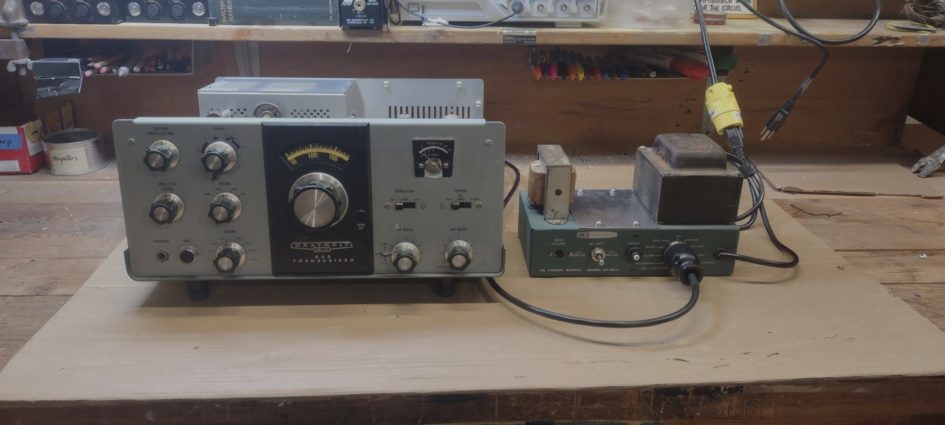
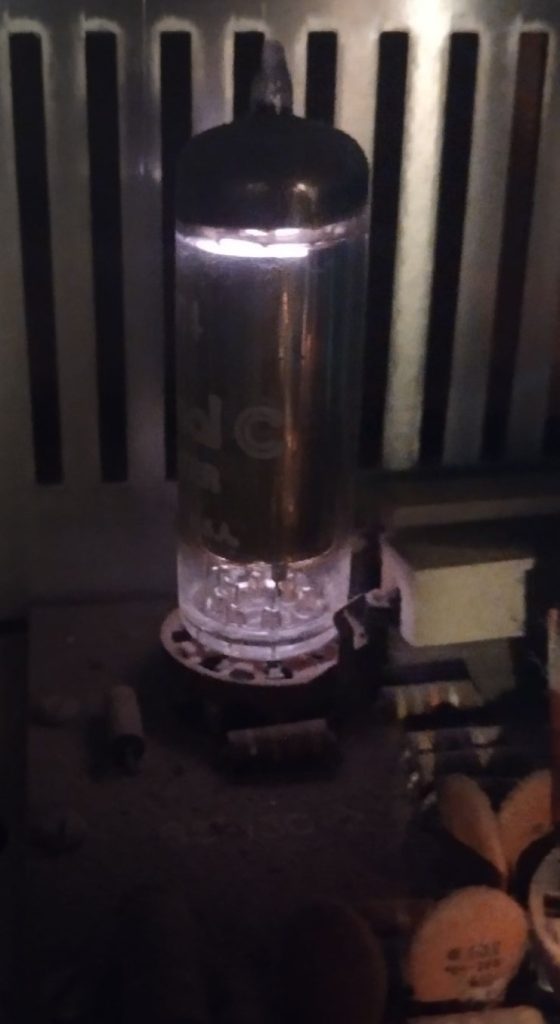
For my HW-101 I decided that I was will to accept some risks and proceeded forward with performing the initial power up test. I first removed the top cover so that I could more closely see, hear or smell any issues occurring from within the radio. I flipped the switch on my HP-23A power supply to the LV 300 DC switch position and turned the AF Gain knob on the radio ON. Next with my variac in the 0VDC position I flipped the toggle switch to the ON position and slowly started turning the knob on my variac and increasing the supply voltage. As I turned the knob to raise the supply voltage I could see the lights that illuminate the VFO and S-meter start to illuminate. As I continued to raise the supply voltage I could see the filament in the tubes starting to glow. I was pleased to see that no components appeared to release their “magic smoke” and a moderate hiss of static stared becoming audio-able from the headphones connected to the radio. With my outdoor dipole antenna connected to the antenna port I had the Band switch set to 20M and started spinning the VFO and was able to hear conversations from hams on the airwaves. Given it was the early evening, I switched to both 40M and 80M and was able to catch traffic on both of these bands as well. From this simple test I was satisfied to hear that the receive portion of this radio was alive and working!
For this initial test in the past I have primarily focused on the receive portion of the radio. Admittedly from the past two Heathkit HW-100s that I had rebuilt, in both cases, the receive portions of these radios required the least amount of work required to get into working order. From my experience, it was often the transmit portion of the radio required more troubleshooting.
With the initial positive news that the radio has some life in it the next step will be to start pulling the tubes and getting ready to do some cleaning.
’73!