Background
The goal of this post is to provide a brief characterization of the Maxmium Power Point Tracking (MPPT) for a few common Meshtastic solar panels. For a solar panel, if the amount of light going to the panel is constant, as the current draw increases the voltage provided by the panel will decrease. The voltage for which the solar panel delivers maximum power to the load is known as the MPPT point. The MPPT point tends to be at the same voltage regardless of the amount of light going into the solar panel. MPPT is often used to help optimize the charging ability of a panel.
It should be noted that the purpose of this test was not to evaluate the maximum total power that the panel has the ability to deliver to the load (under maximum light intensity).
Test Setup
While not perfect, to illuminate the solar panels I used a halogen work light. While this test setup does not exactly mimic the natural sun, given that it is winter in the midwest, it is currently the best option to acquire these measurements. To vary the current draw on each of the panels a potentiometer was used. The voltage at the panel was measured using a digital multimeter, while I used another digital multimeter to measure the current flowing through the load. The power delivered to the load was calculated as Power = Voltage x Current and was plotted using a scatter plot for each of the panels.

Two solar panels that I had on hand were selected for this evaluation. The open circuit voltage of both panels is just under 6V for the test conditions present.
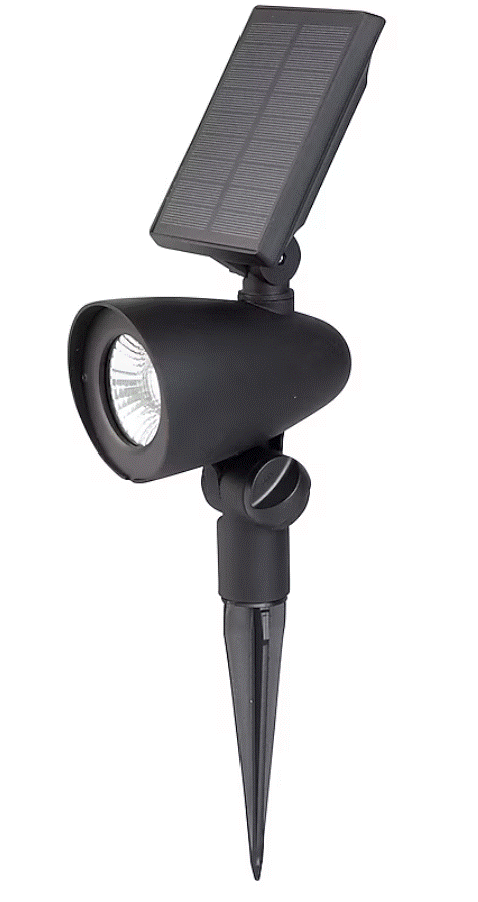
Harbor Breeze – Solar Light – Model SL1832
The unit itself is a solar light commonly available at Lowes that Meshtastic builders have been harvesting the solar panels off of. These panels have been found for under $10 making them an accessible and inexpensive option. For nodes I have built in the past I have remove the solar light and sealed up the solar panel enclosure and mounted it to a waterproof enclosure.
Approximate Cost: $9.99
Dimensions: 3.5in x 6.5in
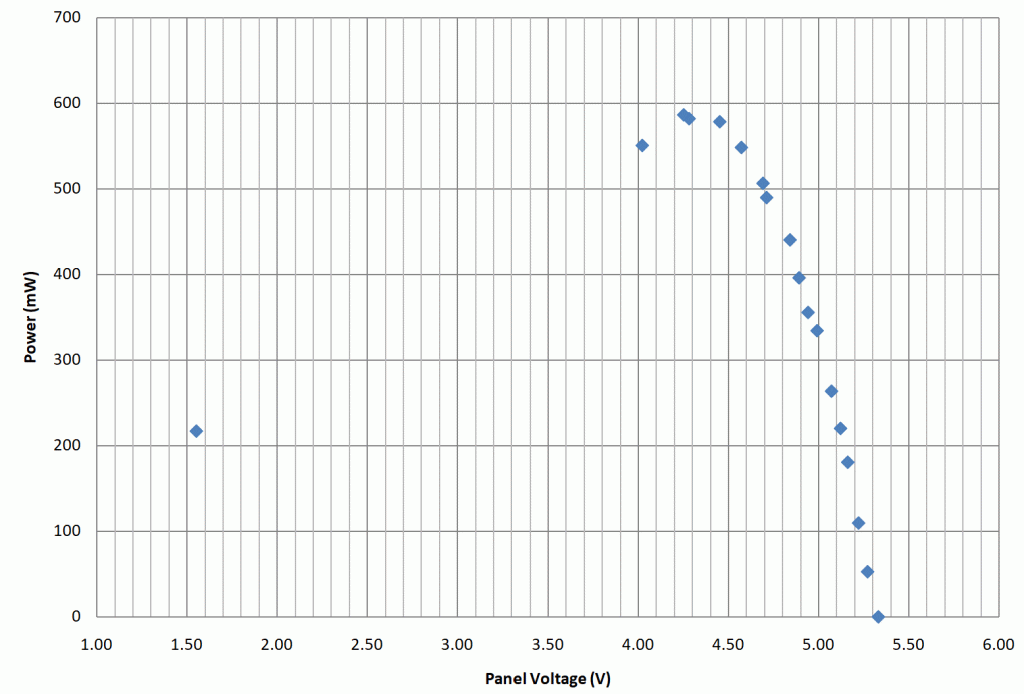
The measurements showing the voltage plot vs. the calculated power provided to the load that was acquired are shown in the Figure below. As described above, when the panel has no load applied the voltage sits just below 5.5V and as the load is increased the voltage at the panel will decrease. The peak value shown on the plot where the power delivered is maximum and its corresponding voltage is the MPPT location. For this panel the MPPT is ~4.25V and at this particular load setting (given the light intensity) the panel delivered ~ 587mW to the load. As discussed above keep in mind that if more light is provided to the panel the power delivered at the MPPT location may be higher but for a given light intensity the MPPT location were optimal power is delivered to the load.
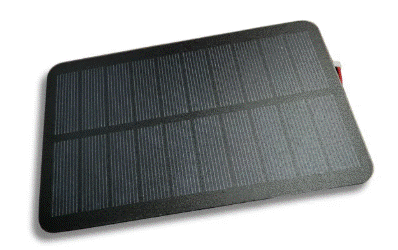
RAK – Solar Panel Model 920433
The next option was a solar panel sold by RAKWireless and distributed by Rokland in the United States and is targeted to the Meshtastic market. To mount this panel to your node you would likely need to use either adhesive or some sort of clipping mechanism as the panel does not include any mounting features.
Approximate Cost: $12.97 (www.Rokland.com)
Dimensions: 3.5in x 5.5in
As with the Harbor Breeze Panel, the RAK panel was placed under similar testing conditions. The Halogen light was illuminated into the panel and the load was increased. The voltage at the panel and current flowing through the load was measured and the power delivered to the load was again calculated. The results from these measurements can be seen in the figure below.
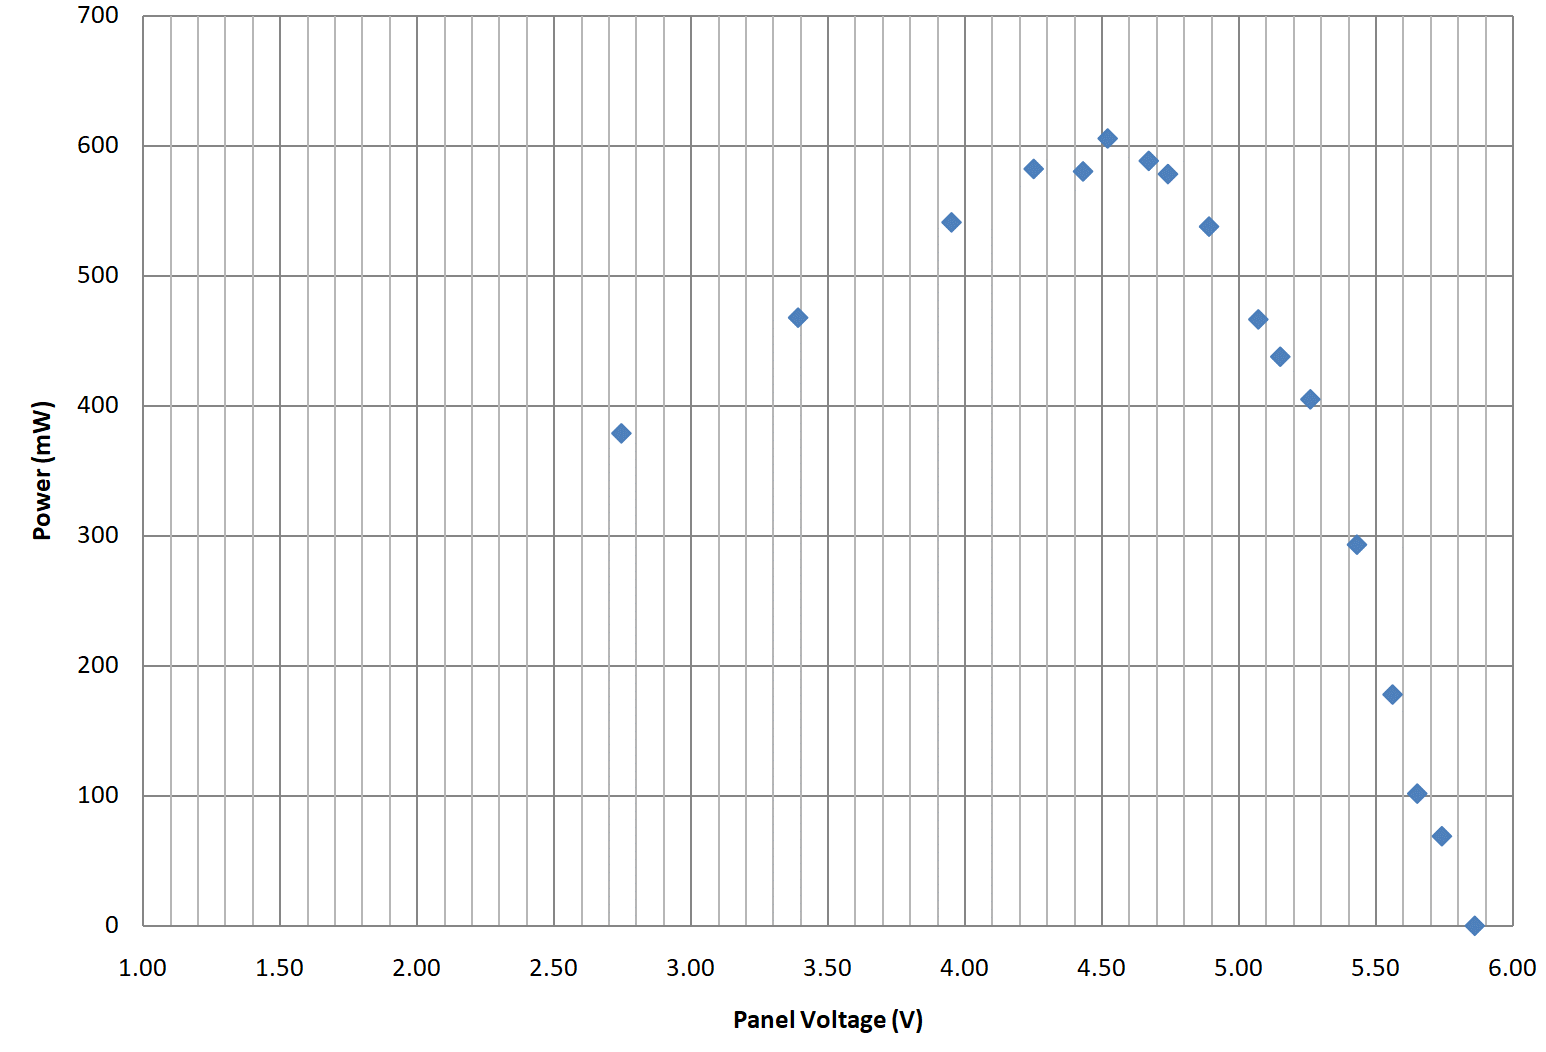
As we saw with the Harbor Breeze panel as the load was increased the voltage at the panel continued to decrease and the peak power was found to be delivered to the load at the MPPT point. For this panel the MPPT was found to be ~4.5V and under the lighting conditions present 605mW was delivered to the load.
Discussion
So you maybe asking yourself what does this information tell us and what does it mean? The MPPT tells us that if we have sufficient light to illuminate the panel voltage to or beyond the MPPT values the optimal voltage at the panel that will deliver the most power to the load and maximize the charge going into your battery occurs at MPPT. From the test measurements the Harbor Breeze solar panel had an MPPT point ~4.23V while the RAK panel’s MPPT was found to be around ~4.5V.
Some solar charge controllers available and are marketed as performing MPPT charging such as the CN3791 battery charger. Texas Insturments has an application article on Mouser regarding using their TPS62125 Step Down Converter and how to configure this chipset at MPPT, it should noted that this chip is not suited directly for charging batteries like lithium ion batteries but is also a good accompanying read (https://www.mouser.com/applications/solar-panel-power-tracking/).
If you choose to take a strategy of using MPPT charging be sure that the chipset you are choosing has its MPPT setpoint to match the MPPT of your panel. As with everything make sure its efficient in that it will not consume a significant amount of current from your precious battery life (when its in a sleep state) and that it is a higher efficiency boost/buck converter. It is also helpful to have a charging system that will allow your system to charge up even when the light hitting the solar panel may provide a panel voltage below MPPT.