I have been interested in doing a rebuild of a Heathkit HP-23 power supply for a little while. For those looking for older gear I have noticed that the HP-23 series power supplies seem to be more rare than the Heathkit radios that they were used to power. I was excited when one of my Amateur radio friends was looking sell such a power supply at a recent ham swap. Earlier in the spring I had picked up an original PS-23 manual at Dayton.
Over the years Heathkit had five different variants of this power supply, the original HP-23, the HP-23A, HP-23B, HP-23C and PS-23 models. The original HP-23 was developed and sold starting the 60’s. Older models included a bias output adjustment that was eliminated in the newer models. The last variant, the PS-23 model changed the part numbering prefix from HP to PS, this change was allegedly due to legal again between Heathkit and Hewlett Packard. The PS-23 power supplies were sold into the 80’s.

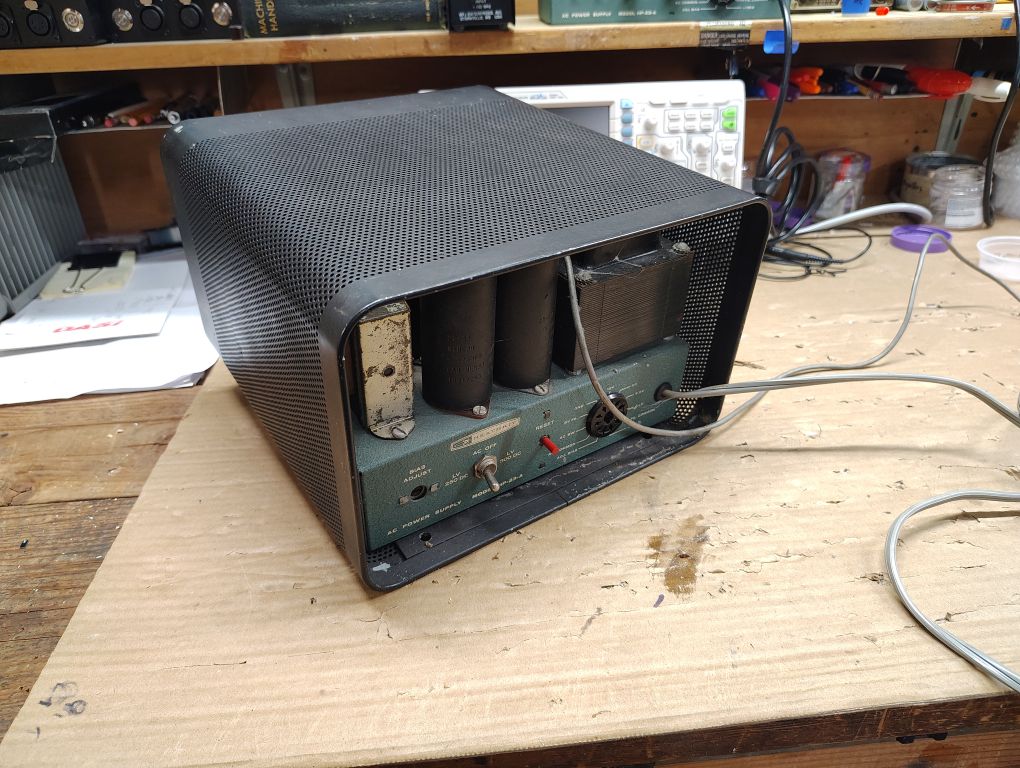
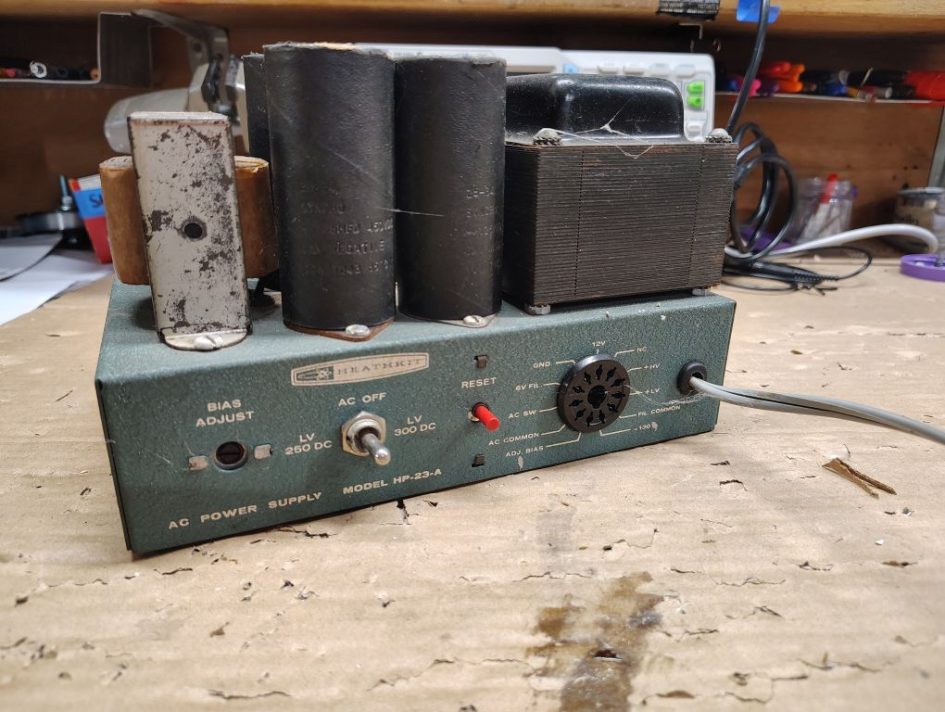
The power supplies were used to power many different radios in Heathkit’s product line including the: HW-12, HW-22 and HW-32 single band radios and the HW-100, HW-101, SB-100 and SB-101 multiband series radios. They can often be found at swaps on their own or it is easy to glance over when they are mounted in the rear of a SB-600 speaker cabinet assembly. I found this particular unit that I purchased mounted in the back of such a speaker cabinet that had been painted black. Luckily whoever had painted the speaker assembly black left the power supply in its original color.
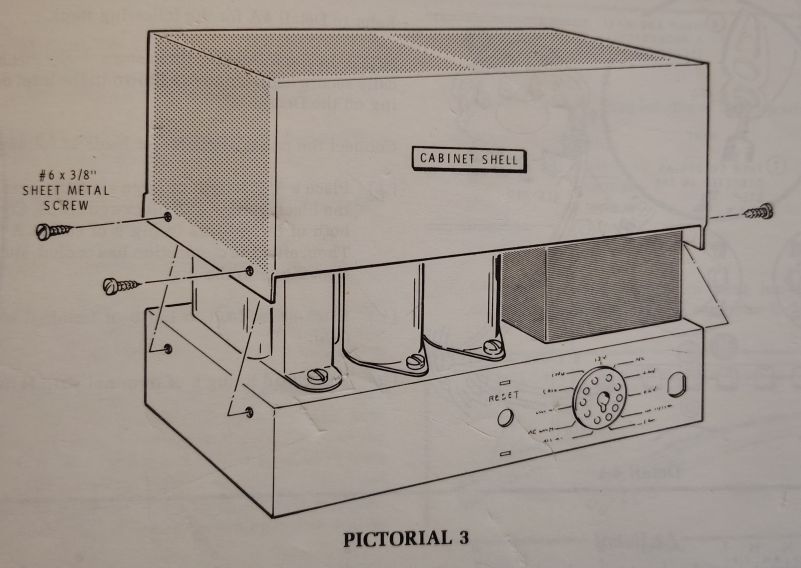
The power supply cabinets originally came with a screened metal shell/shroud that helped to protect and enclose the components mounted on the top side, often these shrouds are completely missing.
WARNING – The power supply operates at lethal voltages that can kill you. Even after power has been turned off many of the capacitors may maintain a dangerously high voltage over a period of time. Use extreme caution when using the power supply or when troubleshooting.
The power supply outputs multiple voltages including:
- 12VAC — Used for tube filament voltages, common is included
- -130VDC
- +275VDC (LV) or +350VDC (HV) — For the HP-23A and B this voltage is changed by changing position of a toggle switch.
- +820VDC
If you have to troubleshoot the power supply and need to probe the lines be sure to verify that your test probes and test equipment is sufficiently rated for the high voltage present in the power supply. Due to the high voltage present use extreme caution and care when troubleshooting.
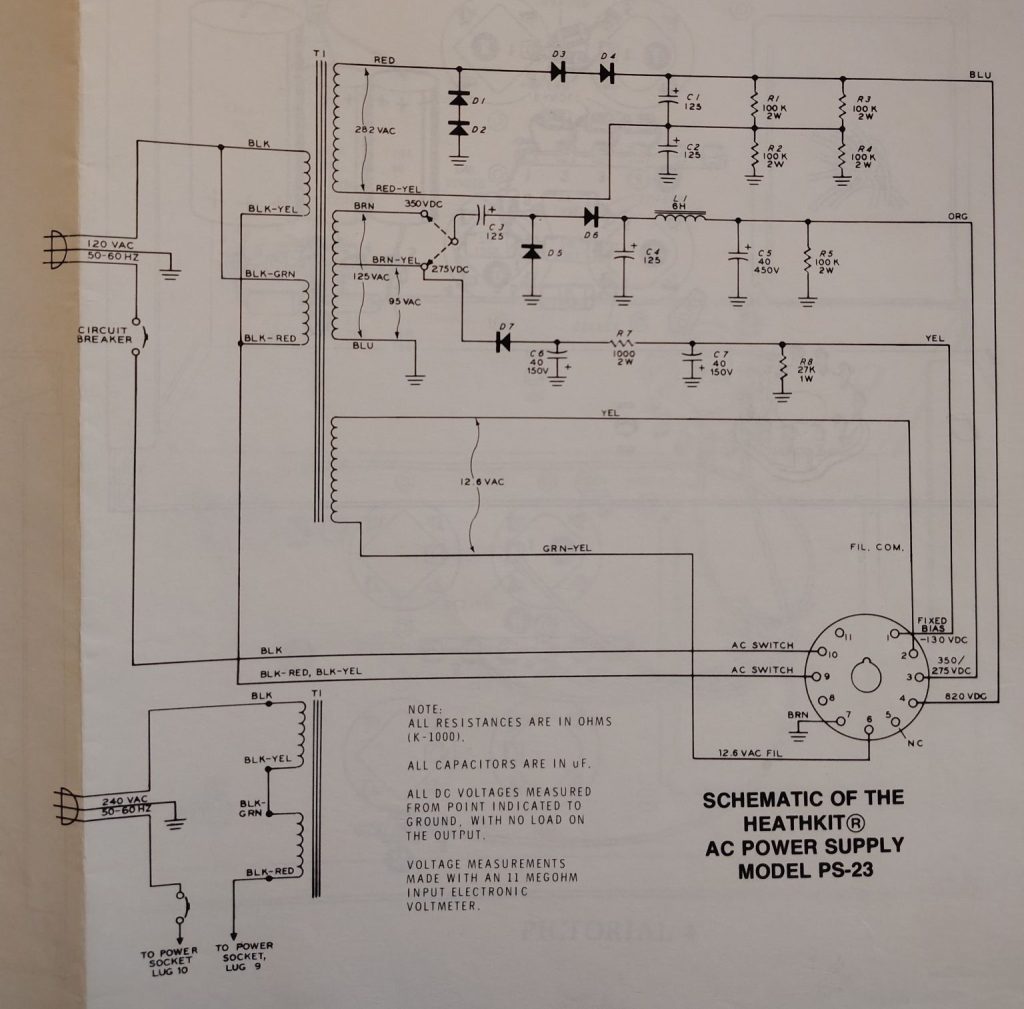
Below is a copy of the the schematic for the newer PS-23 model. Be aware that between the different model years there are some minor variations, specifically some models did not include a 6V Filament voltage out of contact 8 on the receptacle or a bias voltage on contact 11.
Below is a picture of the cable that the power supply uses to connect to the radio. The the shrouds, these cables seem to quiet often get misplaced or unmarried from used power supplies. While a replacement is a bit pricey, kits for rebuilding these cables are readily available on ebay.

Most of the larger and heavier components are mounted on the top side and the smaller components utilize point to point wiring on the bottom side. As with most older electronics dried out electrolytic capacitors are frequently a failure point. For this unit particular I will not be powering it up until the rebuild is complete.
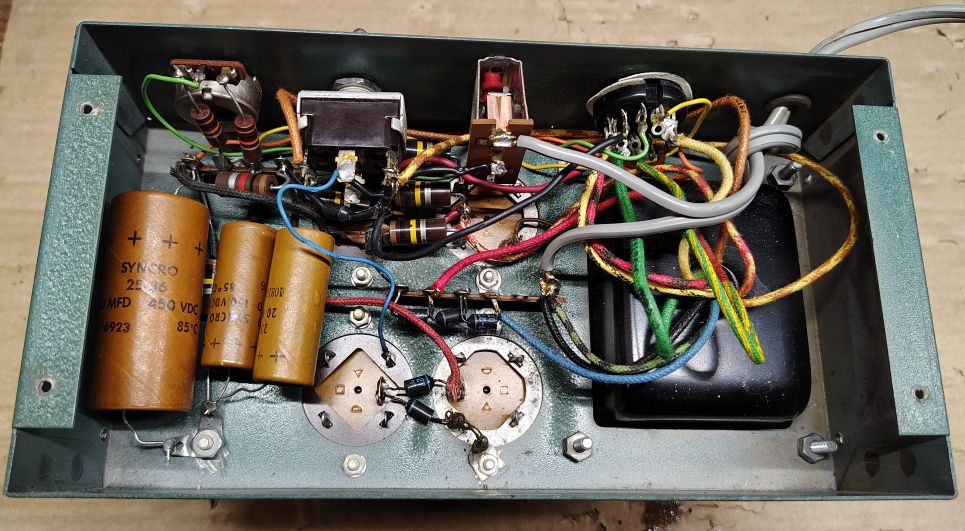
This will be the second HP-23A power supply I have rebuilt. Through the rebuild process I intent to remove and eliminate nearly all of the point to point wiring and dated electrolytic capacitors. These components will be replaced with a custom circuit board that I designed and will be assembled with new components.
“Why use a custom designed PCB” you may ask?
For my first power supply rebuild I did a good amount of research and didn’t like many of the existing options available on the market. Some rebuild kits kept point to point wiring underneath while others called for mounting a PCB with exposed high voltage to the upper side of the power supply. This situation led me to design my own board that would tuck into the underside of the chassis. It was also a good excuse to refamiliarize myself with designing PCBs in KiCAD.
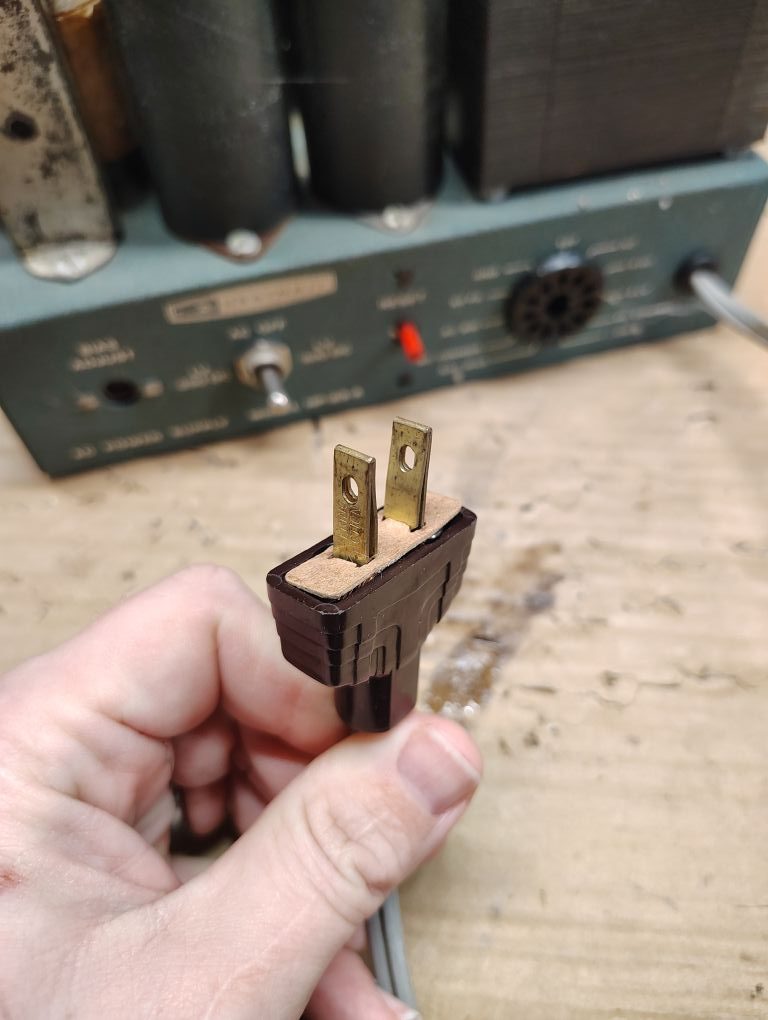
For this rebuild I will also replace the non-polarized plug with a standard three prong plug that includes a chassis ground.
I plan to cover this rebuild process in the posts that follow, below is a quick index of the posts included in this series:
Heathkit HP-23A Refurb – 1. Overview
Heathkit HP-23A Refurb – 2. Gutting
Heathkit HP-23A Refurb – 3. Chassis Prep
Heathkit HP-23A Refurb – 4. Circuit Board Assembly
Heathkit HP-23A Refurb – 5. Wiring
Heathkit HP-23A Refurb – 6. Testing
’73!