In this step of the process we further remove the panels and knobs from the radio and perform a general cleanup including a soapy wash, rinse cycle followed by “baking” the rig .
Cleaning Preparation
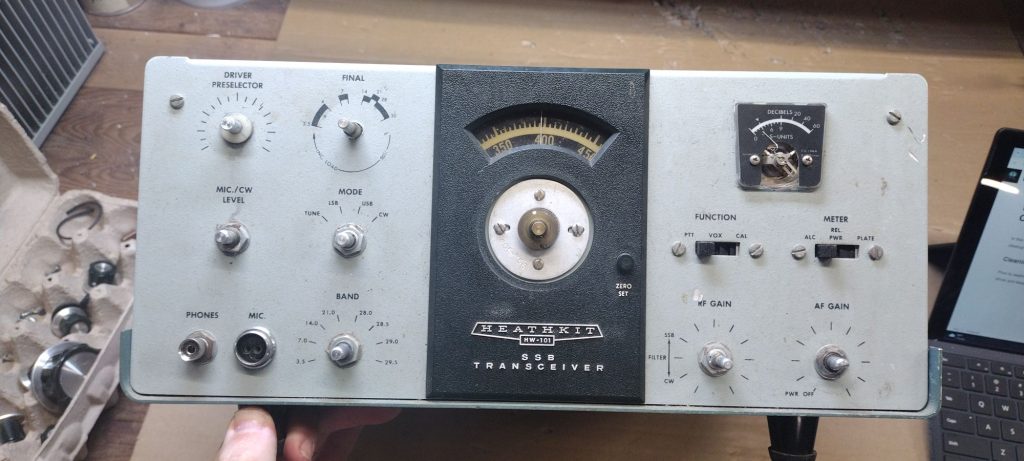
Prior to washing down the radio I pull off each of the knobs one-by-one using a small flat head screw driver and keep them organized in my labeled egg crate containers.
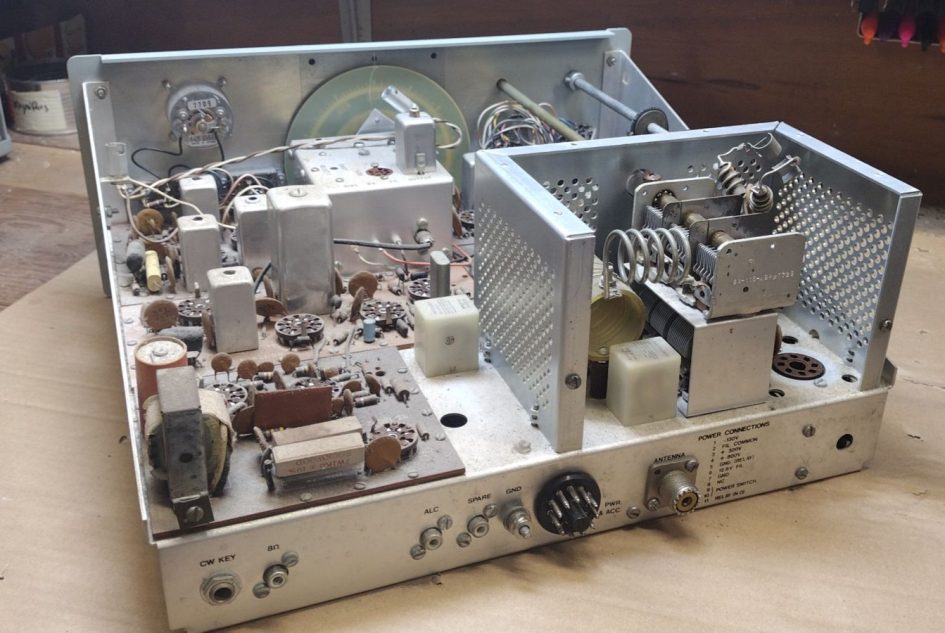
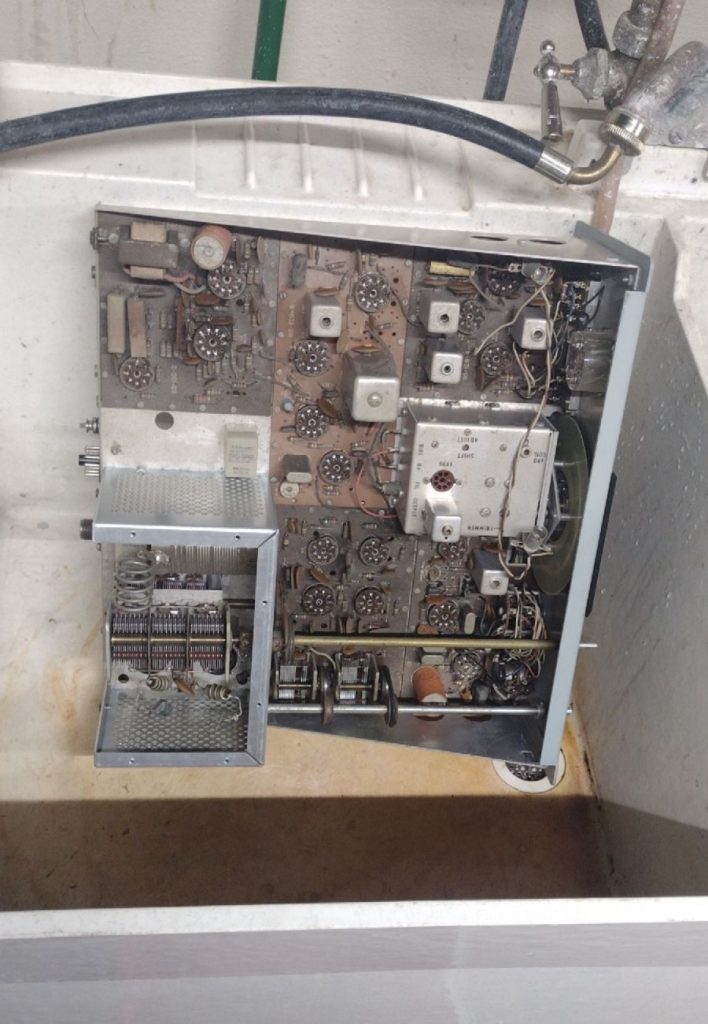
Next I remove the remaining panels from the radio including the rear metal panel, high voltage RF cage and the bottom panel. With the panels removed you can really see how much dust has accumulated in your rig over the years.
Wash Down
On an old boat anchor the best method for cleaning up the rig is to literally rise and wash it down with water in a utility sink. For whatever radio you are refurbishing you need to be careful and watch for areas that you should avoid soaking down.
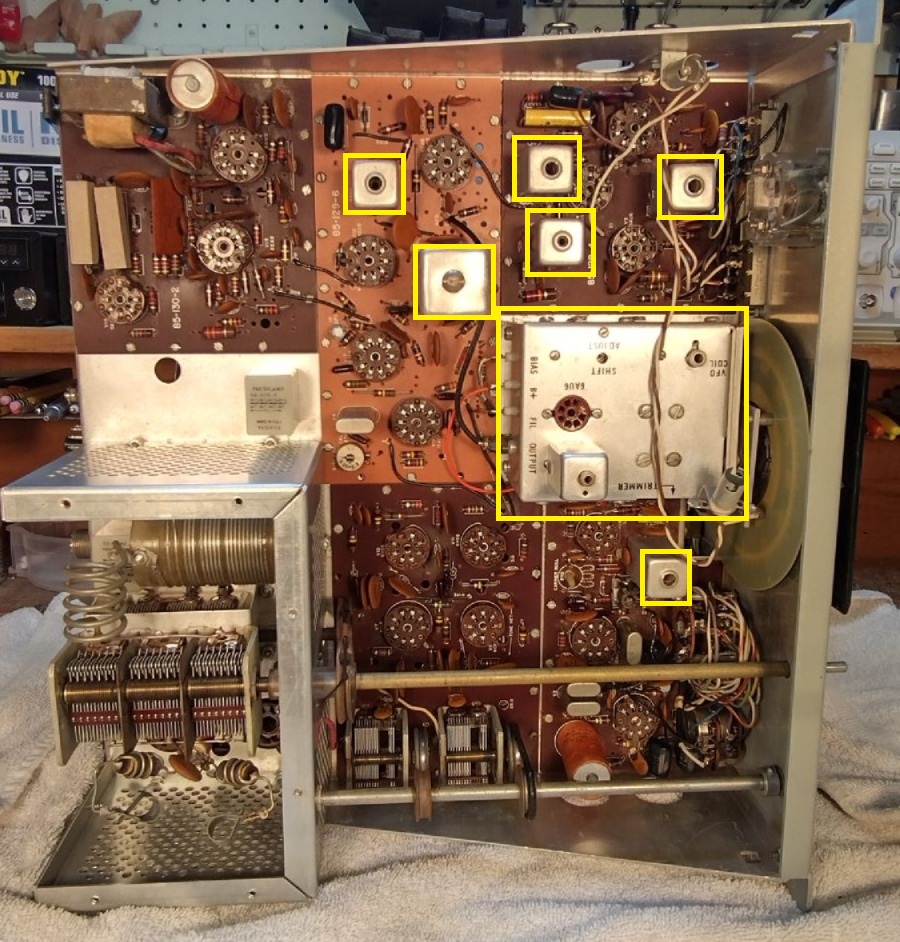
For the HW-101 a few areas that I avoid getting water into include:
- VFO Area
- Adjustment Transformers (T1, T201, T202, T103) and the 6.8MC Trap.
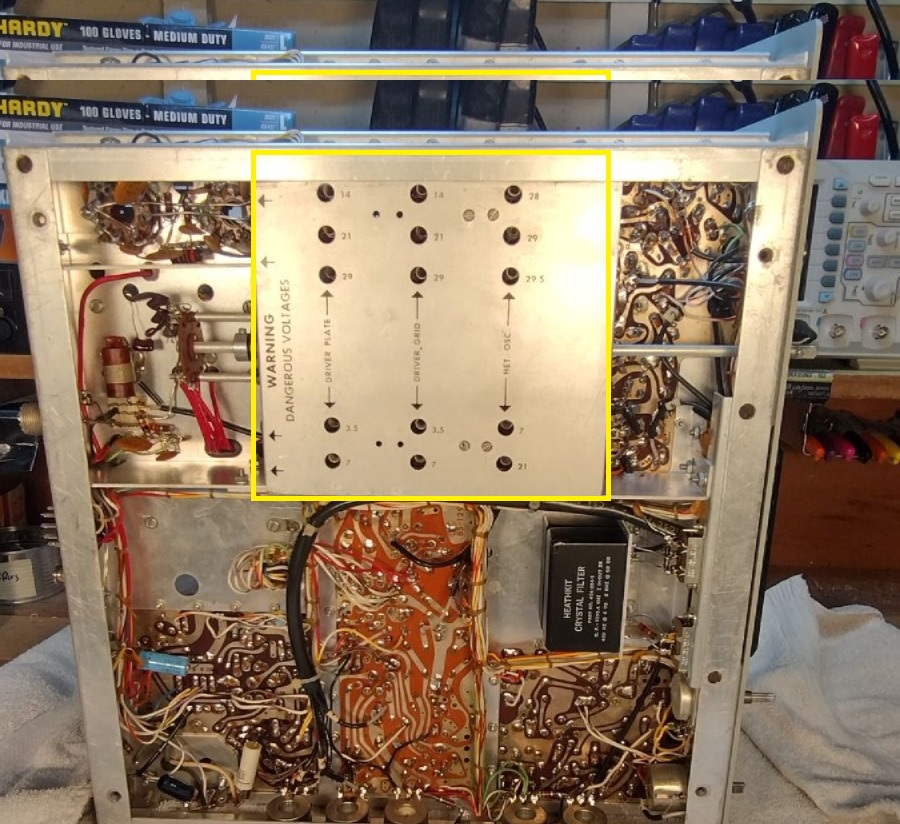
- Adjustment area of the Driver Plate/Grid and Heterodyne Oscillator (on the bottom side)
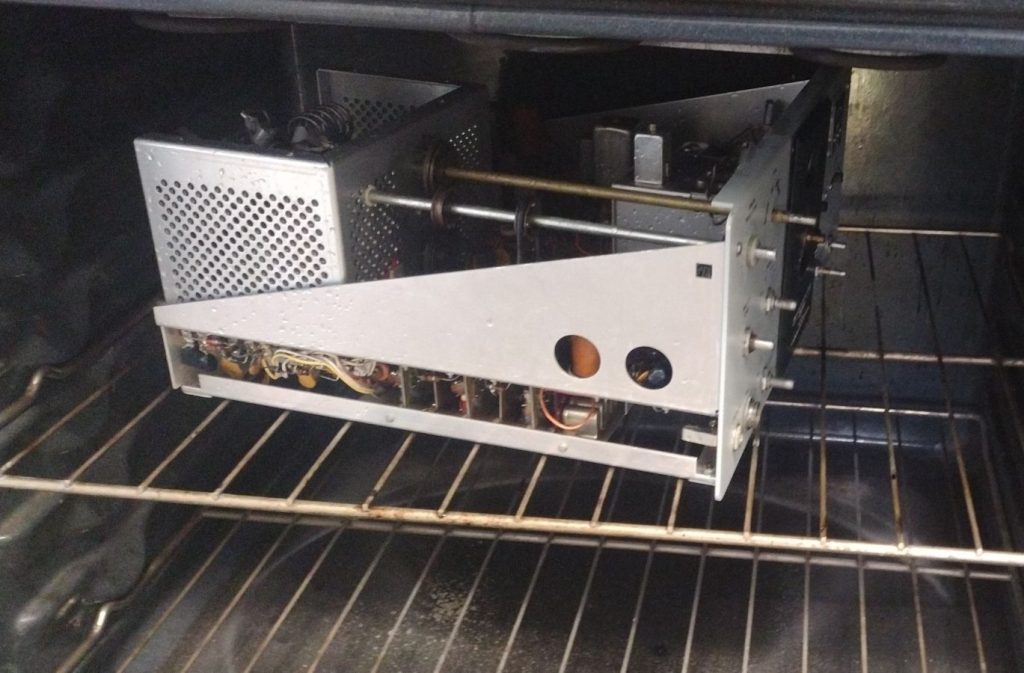
Prior to starting the rinse cycle I set my kitchen oven to the lowest setting possible, somewhere around 170°F or lower. After we are done washing the rig the plan will be to set it in the oven to allow any excess moisture to escape.
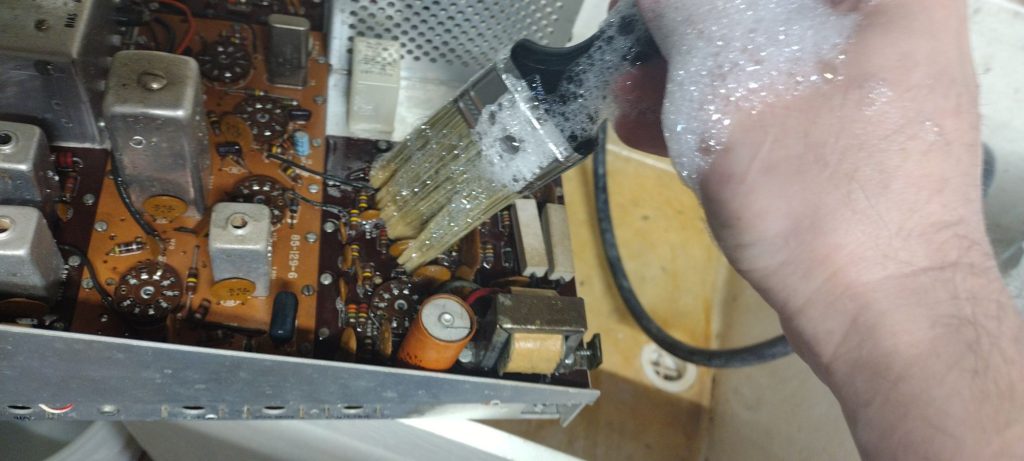
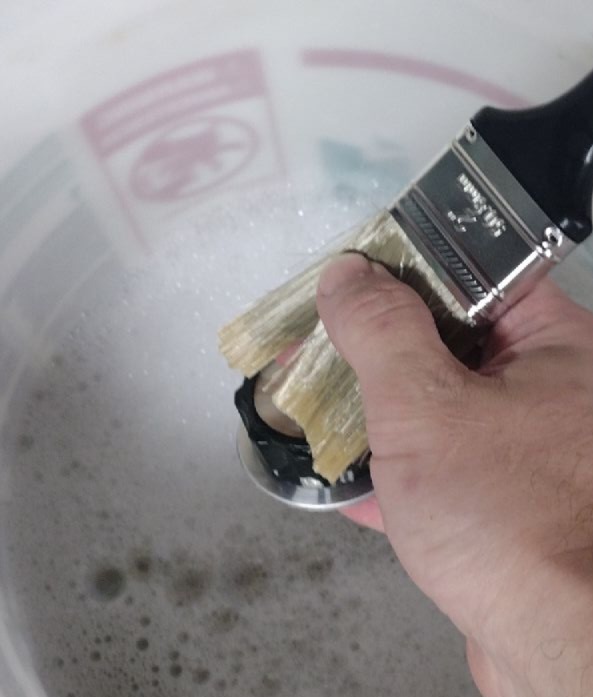
To rinse down the radio I carefully place it in a utility sink and begin to hose both the circuit boards and the outside of the radio down. Once a sufficient rinse has occurred I next take a small bucket mixed with hot water and dish soap and wash the inside and outside of the radio using a clean paint brush. While performing this process you will need to use enough “elbow grease” to clean up the grime but be not so aggressive that you are pulling components off of the board. If a heavy nicotine build up is present on the radio then you may need to use a slightly more aggressive cleaner, I would recommend consulting other hams on recommendations and try the cleaner in a small noticeable area. When you are pleased with the results a final rinse down with water is in order to remove all of the soap from the radio.
Once the radio has been cleaned, it goes into the pre-heated oven to help dry it and remove excess moisture. The last thing you want is leave the rig exposed to water for an extended period of time and to cause your newly cleaned radio to corrode. The recipe here is to keep the radio in the oven for around 20 minutes at temperature and then turn off the oven and leave the radio in for another 20-30mins.
While the rig is “baking” I work to clean up the knobs and panels that were removed again using soapy water and a rinse.
When the rig has completed its baking cycle I open the door to the oven and give a few minutes for the radio to cool down. At this point I always take sometime to admire how the rig looked prior to clean up and post baking. It is amazing how a little soapy water and a brush cleans things up.
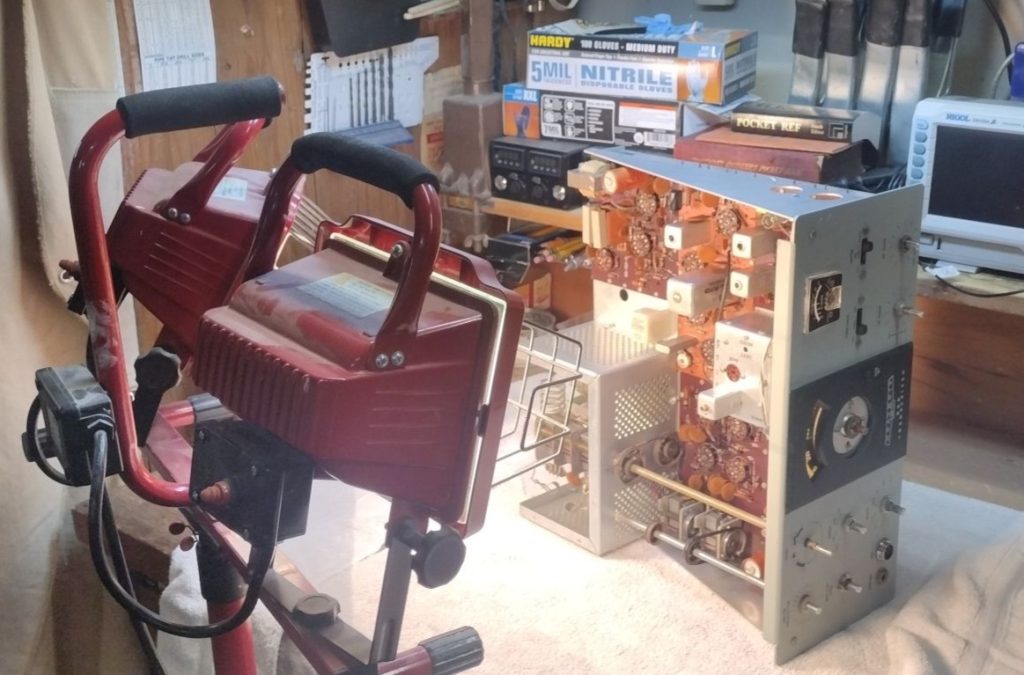
After removing the radio from the oven I set it up on a bench in front of some warm halogen lamps and further let the radio dry to remove any additional moisture for an afternoon.
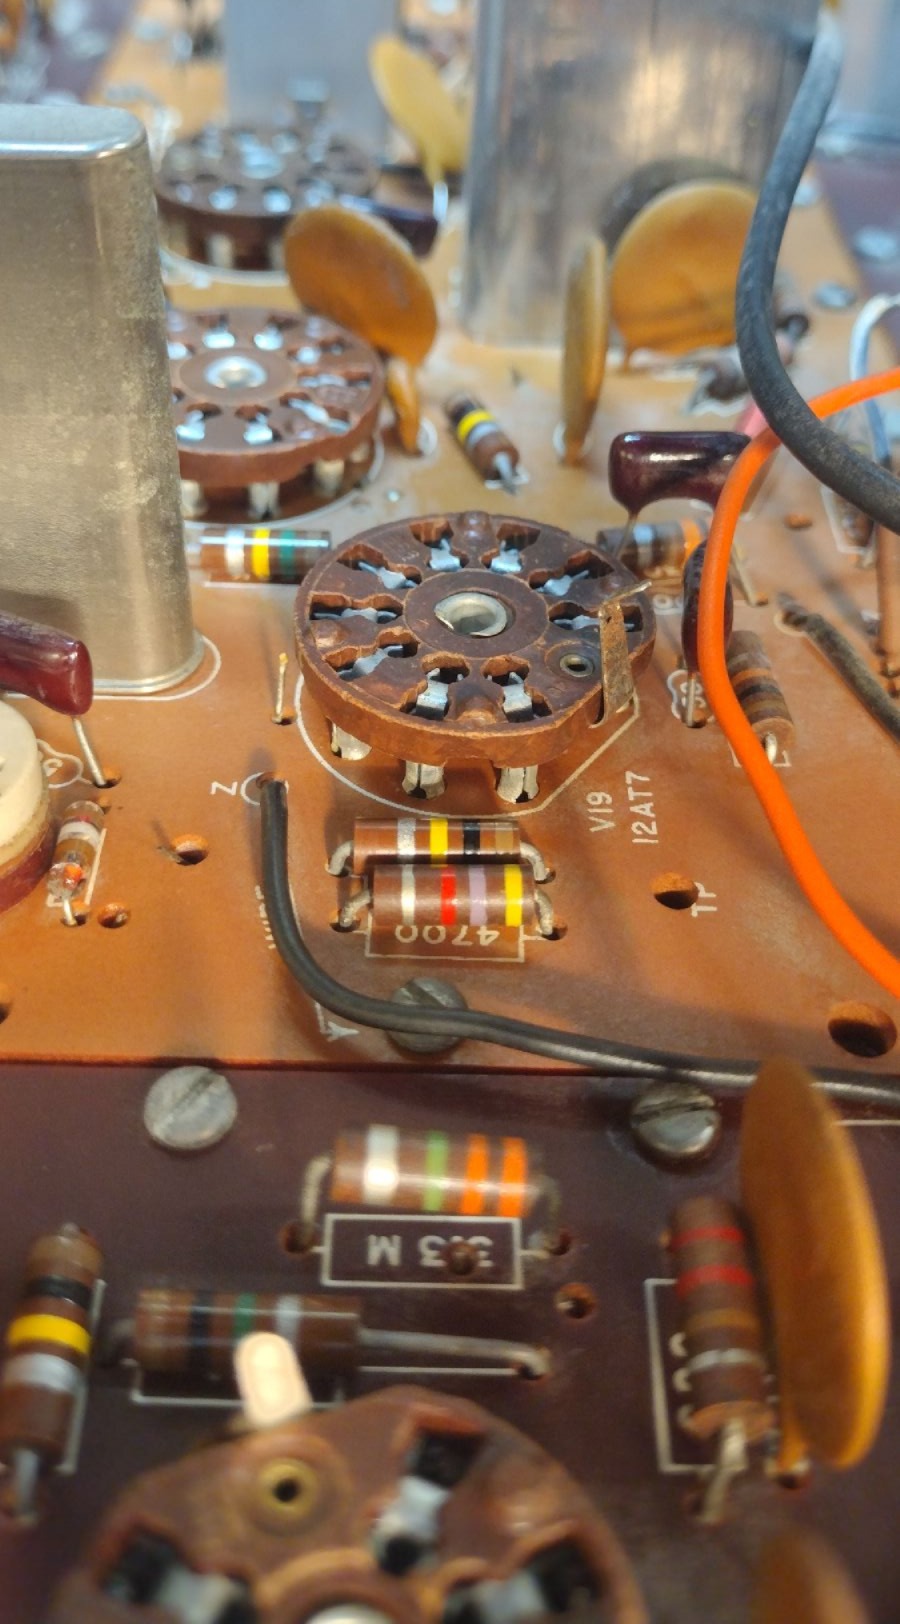
With the radio squeaky clean our next step will be to check for out of tolerance resistors.
’73!