Introduction
In 2003 with my General class privileges in hand, I picked up my first HF radio at a ham swap, a Heathkit HW-100. At the time of purchasing the radio I had no experience working with vacuum tubes and was told that the 6146 final amplifier tubes were shot. Unfortunately this radio sat idle in my basement for over 15 years waiting for my interest in Amateur Radio to rekindle.
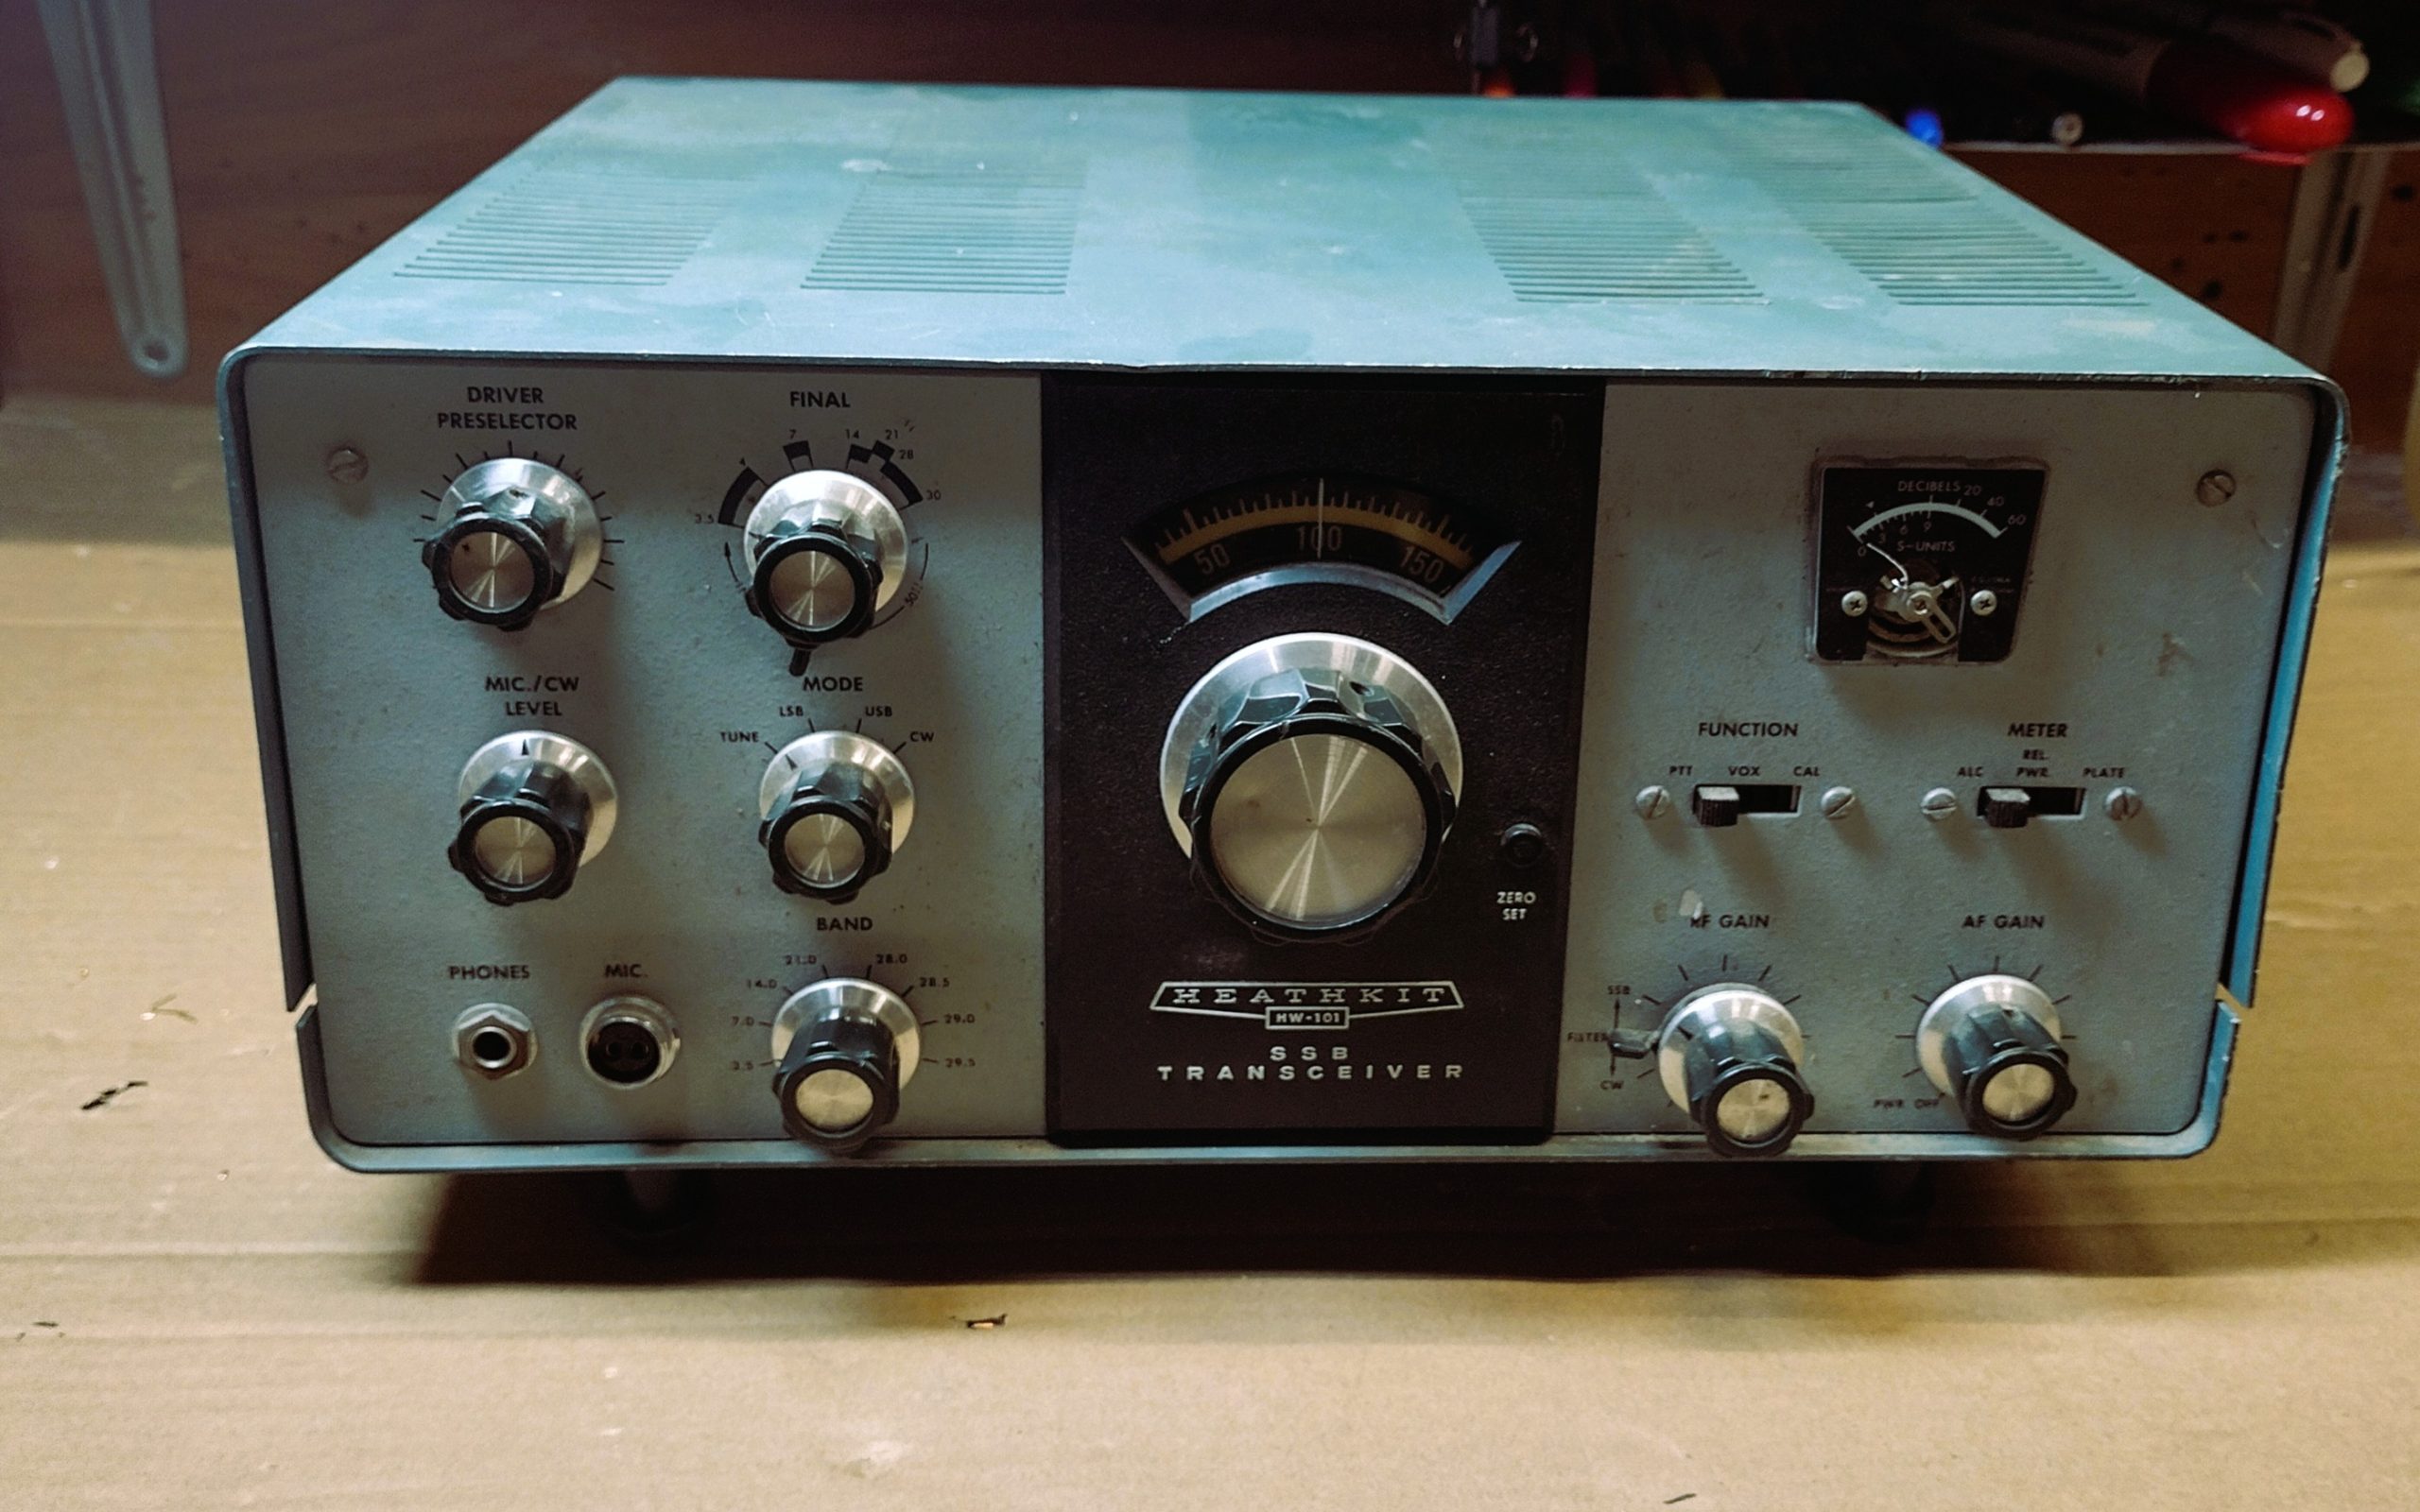
Around 2023, when it seemed like the world had not yet fully returned back to normal, I regained interest in getting this radio back on the air and had finally found time to focus on learning the art of radio repair and how a radio works in practice, with some theory involved. From visiting a few ham swaps I picked up a second used HW-100 with the intention of this becoming a much needed parts rig and later on discovering that the rig was nearly complete and just need a little help in getting up and running. While at Dayton Hamvention 2024 I found a HW-101 that looked like it needed a little help. For me these radios are a sad puppy on the side of the road, only looking for someone to take them home to a good home. Again, intending for this to be a parts rig when I bought it back home I discovered that the rig was fairly complete. Given the state I found it difficult to scavenge the unit for a few much needed components.


The Plan
In the posts that follow, I plan to include write-ups covering the cleanup and a refurbishment process of this radio. I do not plan to bring the unit into a brand new state however my goal is to tidy it up and get it back “on the air”. If the radio turns out to be a complete dud, then the plan will be to simply graduate to my quite empty Heathkit parts shelf!
The Process
From taking on a few of these refurbishments in the past a rough process emerges. From talking with different Elmers you will get some debate on these steps but all-in-all this is a process to use as a guideline:
- Visual Inspection
- Initial Smoke Test (OPTIONAL)
- Tubes – Pull, label and test
- General clean up
- Resistors – Check and replace out of tolerance
- Contact Cleaning
- Re-cap
- Reinstallation
- Alignment
Appendix
-Theory of Operation
-Repair
-Troubleshooting
I will say in advance I’m not an expert but want to help others learn from my mistakes. Hopefully this will help provide some technical help or inspiration for others to take on their own journey in refurbishing a boat anchor.
’73!